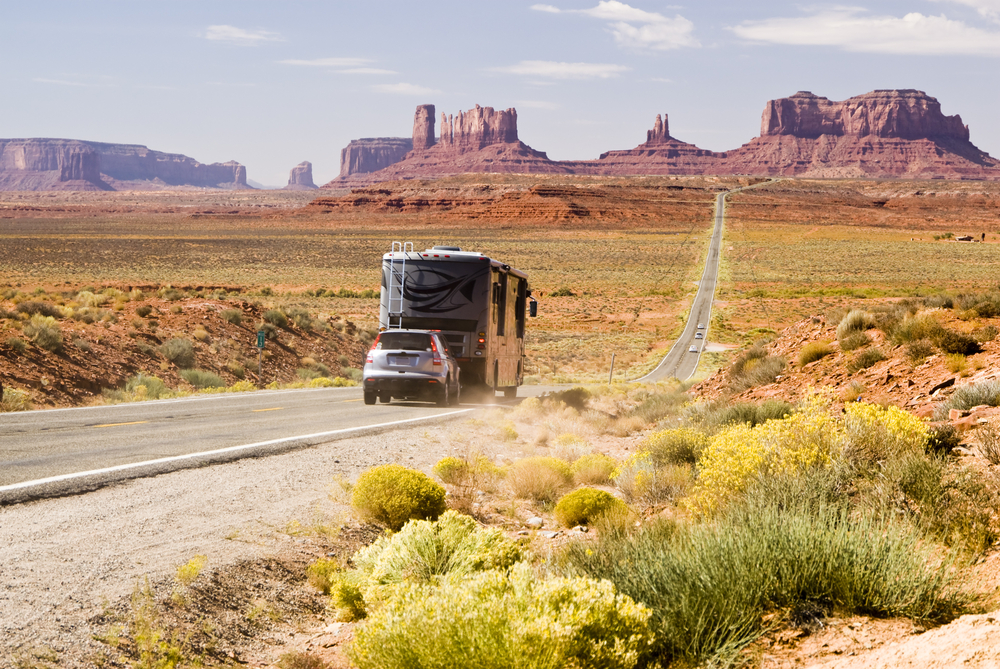
Living with the Arizona sun means you get to enjoy beautiful weather, but it also means you’re in a constant battle to keep your vehicles looking good. This is especially true for your RV. If you’ve noticed your rig’s shiny finish turning dull, chalky, or faded, you’re seeing a process called oxidation in action. It’s the number one reason people start looking into RV exterior restoration.
But what does that process actually involve? It’s more than just a fancy term for a heavy-duty wash and wax. Let’s break it down.
Why Is Your RV’s Finish Fading in the First Place?
Most RVs on the road have one of two main finishes: a tough gel coat over fiberglass, or a full-body paint job that’s a lot like the one on your car. The sun attacks both, but in slightly different ways.
Think of a gel coat like skin. The sun’s UV rays bake it day after day, drying out the natural oils in the resin. Eventually, the pigment gets exposed and turns into that classic chalky powder you can wipe off with your finger. For a painted RV, the damage happens to the clear coat—the invisible layer of sunscreen on top. The sun wears it down until it gets hazy and cloudy, and if you let it go too long, it will start to peel. When the damage gets to this point, a professional RV exterior restoration is the only way to truly fix it.
What a Real Restoration Process Looks Like
A proper RV exterior restoration is a careful, step-by-step process to remove the damage, not just cover it up.
Step 1: The Deep Clean
First, the entire surface has to be perfectly clean. More than just using soap and water, it means using special products to remove every speck of road tar, iron deposits, and old wax. We call this decontamination. If you try to polish a surface that isn’t totally clean, you’re just grinding tiny bits of dirt into the finish and making things worse.
Step 2: The Correction Phase (Where the Magic Happens)
This is the most important step in any RV exterior restoration. Using a machine polisher and a special liquid called a compound, we gently remove the thin, damaged top layer of gel coat or clear coat. Think of it like a very fine liquid sandpaper that scrubs away the faded, chalky surface to reveal the fresh, vibrant finish hiding underneath. This takes a lot of skill to do correctly without damaging the finish.
Step 3: Polishing and Refining
After the damaged layer is gone, the surface is refined with an even finer polish. This step removes any haze left from the compounding stage and is what really brings out that deep, wet-looking gloss. It’s the difference between a finish that just looks “clean” and one that truly looks new again.
Step 4: Long-Term Protection
Once the finish is fully restored, it needs protection. You have a few options here. A traditional wax looks great but only lasts a couple of months. A synthetic sealant is a step up, often lasting six months or more. For the best, longest-lasting defense, a ceramic coating creates a hard, glass-like shell over the finish that can protect it from the sun for years.
Schedule a Professional RV Exterior Restoration in Arizona
When you’re looking at your rig and thinking it’s seen better days, you now know what a true RV exterior restoration involves. It’s an investment in bringing back that showroom shine and protecting your home-on-wheels for many more adventures to come. Contact us today to learn how we can help you get your RV back to looking its best.


